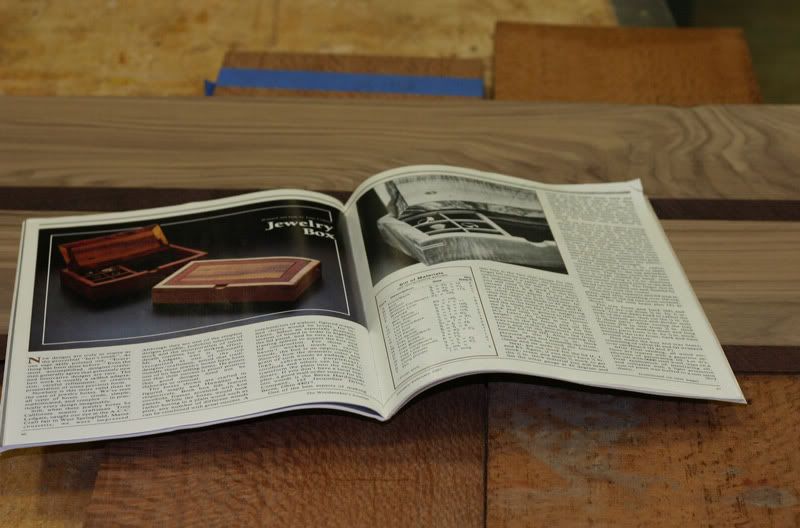
 My plans and the raw lumber.My plans and the raw lumber.
 The first week of class I planed and sanded the walnut down to 5/8" thick and then cut the fronts and backs and ends to size. If I'm cutting two pieces that need to be the exact same size I like to tape them together and cut them at the same time to ensure they're uniform.
 A side piece and the front of the box in the dovetail jig.
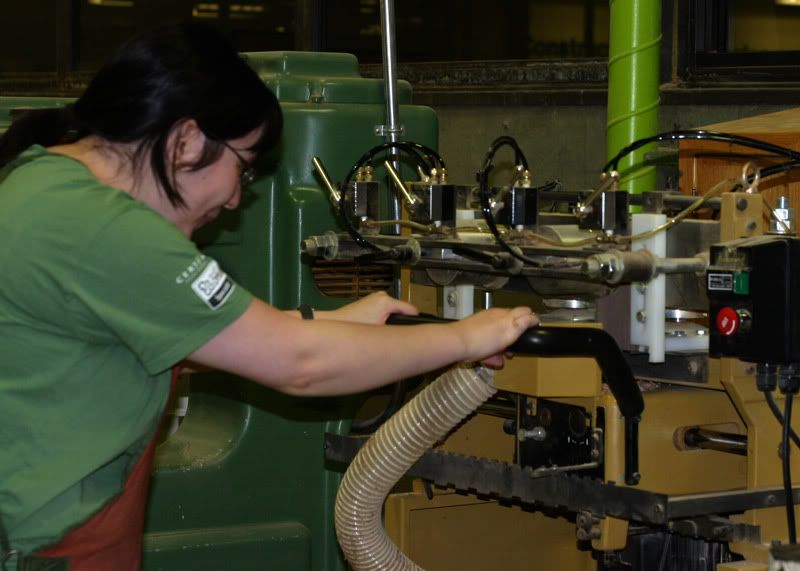 Cutting the dovetails with the router.
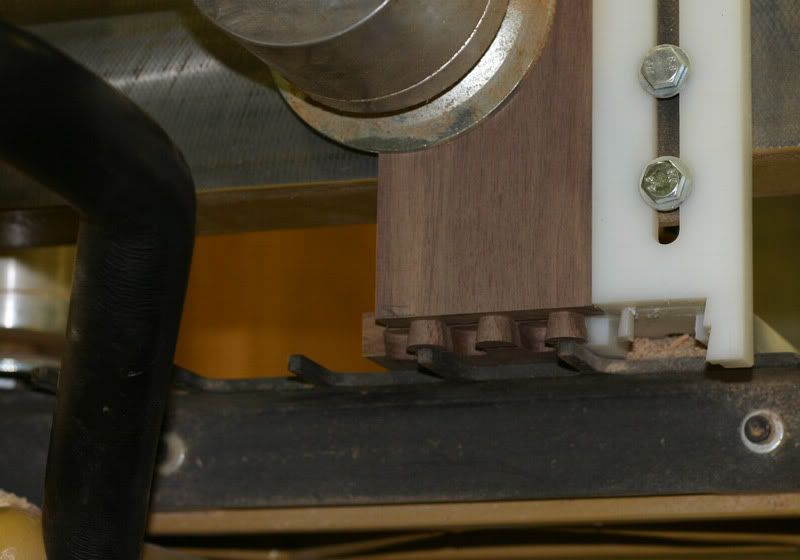 The cut dovetailed joint. The jig offsets the two pieces so when they're flipped around they'll fit together.
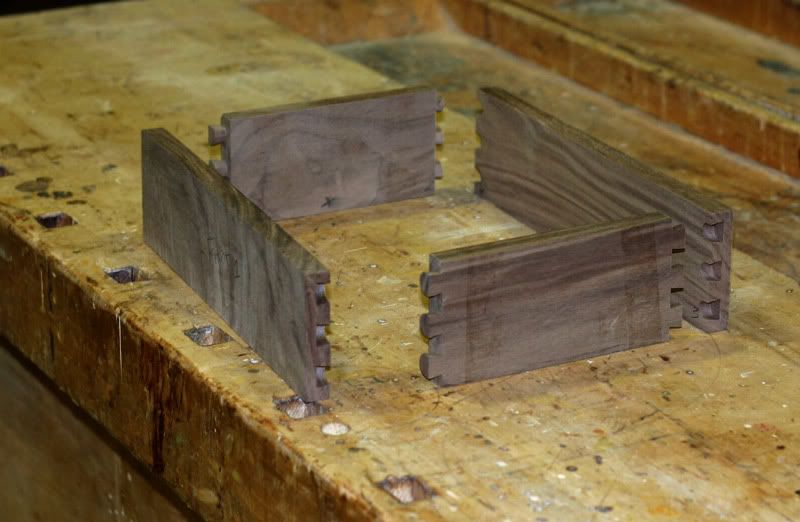 The cut dovetails. The jig I used cuts blind dovetails and so they will only be visable on the sides of the boxes.
Labels: projects, woodworking